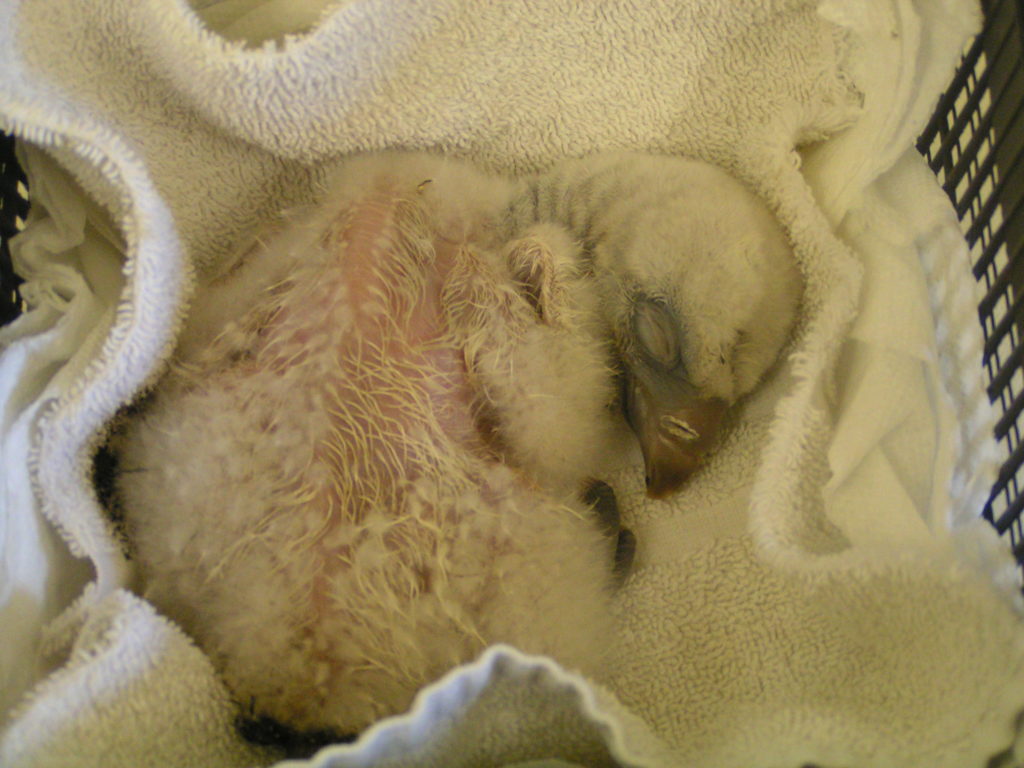
We’re often asked about breeding birds of prey, so we’ve been catching up with Mike Riley (a senior member of our Bird Team) to find out more about incubation:
Incubation is the artificial brooding and rearing of eggs and is sometimes used over natural incubation for a number of reasons:
Setting up for incubation
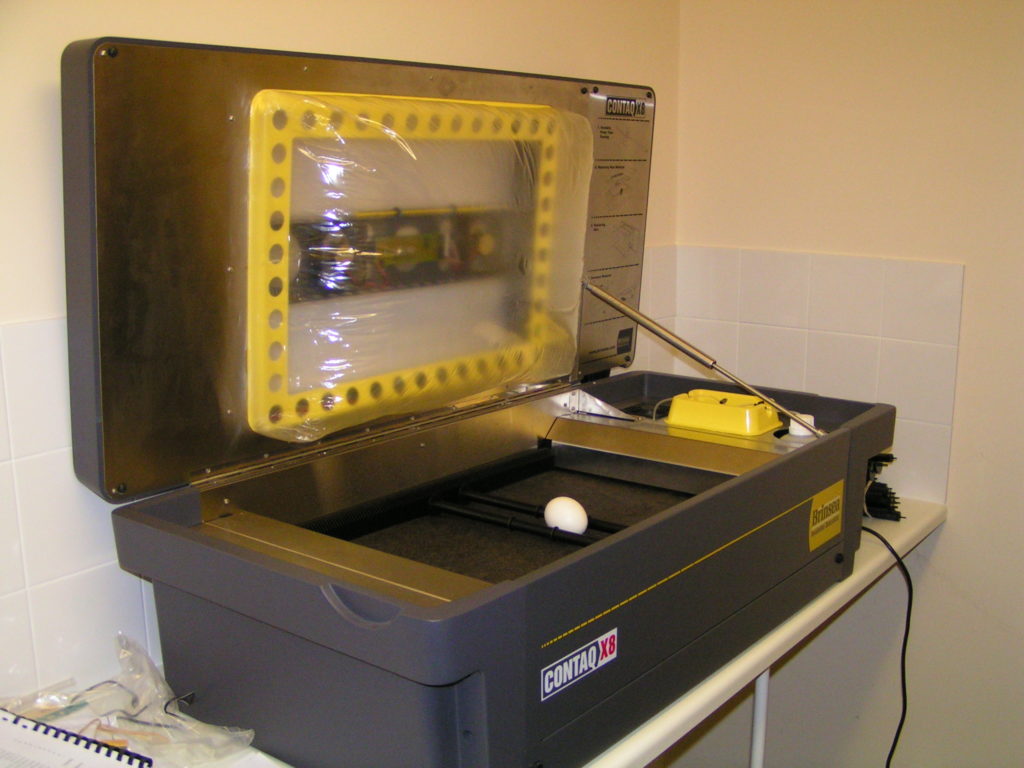
To incubate eggs successfully we not only need incubators but the environment that they are placed in also needs to be set up correctly. The room temperature must be lower than 37.7 degrees celsius; large vents in the walls or door can help keep the temperature down, though it can lead to problems with increased moisture into the room. To counteract this, a dehumidifier is used.
The incubators themselves must be set to 37.7 degrees which is why it is critical to set the temperature & humidity of the environment correctly, otherwise the incubators are constantly trying to equalise and the fluctuations will cause the eggs to fail.
If any of these conditions are not correct, it can stop the embryo developing correctly.
Incubating the eggs
Once the eggs have been collected they are candled (a light is shone through the egg to see if there are any signs that the egg is fertile), weighed and recorded. On average, eggs lose 16% of their mass from when it is laid to when it hatches. If we get an egg from the moment it is laid and weigh it, this is known as its ‘fresh egg weight’. Knowing the fresh egg weight and the amount of weight it needs to lose helps us ensure we are providing the correct conditions for the egg. For example, a Harris’ Hawk incubation period is 32 days on average, knowing its fresh egg weight we can work out using an equation that this species needs to lose 0.3g per day. Most eggs are weighed daily to make sure that they are losing the correct weight, If the egg is losing too much weight per day then we can increase the humidity in the incubator to slow it down, or we can decrease the humidity to encourage weight loss. The incubator has rollers inside which the eggs sits between, the incubator turns the eggs 180° one way and then after a period of time it will turn it back the other way.
How the egg develops
As the egg starts to incubate you can see development when candling the egg. The first evidence is the development of veins appearing around the inside of the egg shell, these veins appear like tentacles swirling around inside the egg. Sometimes you begin to see things like the head and later on the chick starting to move about within the egg (if the shell is not too dense).
As the chick develops you will see an increase in size of a pocket of air at the top of the egg; this is called the air-sac and is separated from the chick by a membrane. When the chick is due to hatch it breaks into the air-sac, this is known as internally pipped and gives the chick around two days of oxygen prior to piping the shell itself. When it has internally pipped we move the egg into a wet incubator that no longer rotates the egg. It is kept at the same temperature but with higher humidity levels to allow the chick to move about.
The hard work now starts for the chick, they have to crack the shell of the egg, this is known as externally pip. Once this is done, oxygen can reach the chick from outside so that it can breathe as it starts its long and tiring task of hatching. Hatching can take anything from a few hours to a few days.
If all goes well the chick should hatch problem free at the end of its incubation period.

